7 Tips for Choosing Modular DIY Acoustic Panels?
Choosing a Modular DIY Acoustic Panel system can transform a harsh, echoing room into a more comfortable listening environment. However, attractive fabric alone does not guarantee useful acoustic control. The real decision involves room size, wall surfaces, panel thickness, installation flexibility, and the frequencies creating trouble.
Ethan Winer, an audio engineer and author of The Audio Expert, states, “Acoustic treatment is not soundproofing.” That distinction matters. Panels can reduce reflections inside a room, but they will not stop voices, traffic, or bass from passing through walls. A reliable choice begins with observation. Clap near the center of the room. Notice the sharp ring. Record a short voice memo from different corners. Small details often reveal more than product descriptions.
The seven tips in this guide examine practical choices for a Modular DIY Acoustic Panel setup. They cover panel placement, core materials, fabric breathability, thickness, air gaps, room measurements, and future expansion. A 2-inch panel may soften speech reflections, while thicker treatment can address lower frequencies more effectively. Spacing panels away from the wall can improve absorption, though results vary with construction and frequency.
Do not ignore appearance. You will live with these panels.
A modular design allows rearrangement after furniture changes, recording experiments, or unexpected acoustic problems. Still, “DIY” does not mean guesswork. Measurements, manufacturer data, and careful listening should guide each purchase. Some recommendations may need adjustment. Every room behaves differently, and that imperfect reality is part of the process.
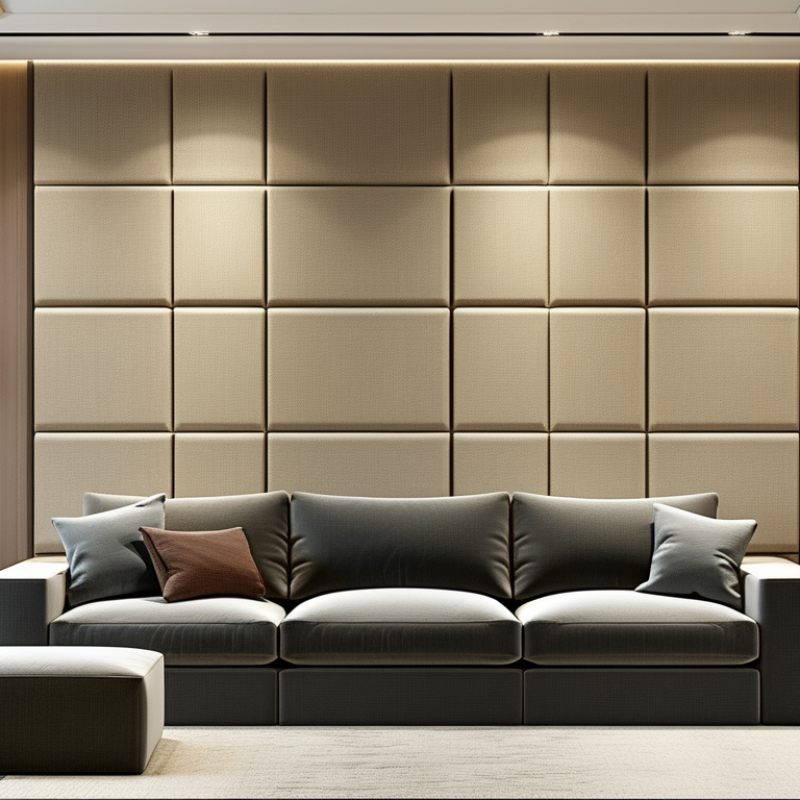
Define Your Acoustic Goals and Room Requirements
Before choosing modular DIY acoustic panels, define the problem your room must solve. A home office needs clear speech and reduced echo. A music room may need controlled reflections without feeling unnaturally dead.
Walk through the space while clapping, speaking, or recording a short voice memo. Listen for flutter echoes, harsh brightness, and blurred words near bare walls. Note the room length, width, ceiling height, windows, doors, and large furniture. Small details matter.
Set measurable goals where possible. You might want clearer video calls, tighter vocal recordings, or less listening fatigue. A basic reverberation check can show whether the room is overly reflective. Phone apps are useful, but only approximately. For critical work, consult an acoustics professional and use calibrated measurements.
This prevents purchases based only on attractive photographs. Panel thickness, air gaps, coverage, and placement all affect performance. Thin panels placed randomly may absorb high frequencies while leaving low-frequency buildup untouched.
Plan around how the room is used each day. Leave access to outlets, vents, shelves, and doors. Modular units should move easily when your desk, instruments, or seating changes.
I once placed too much absorption behind a desk and made the room feel strangely flat. Moving several panels to first-reflection points improved clarity. The result was better, but not perfect.
Your room may need repeated testing, especially when rugs, curtains, and furniture change the balance. Record each layout and compare the same passage at the same volume. Use secure mounting methods and follow local building guidance.
Select Panel Materials, Sizes, and Modular Configurations
7 Tips for Choosing Modular DIY Acoustic Panels
Choose the material according to the sound problem. Fiberglass and mineral wool usually absorb mid and high frequencies effectively. Foam can help with reflections, but it often performs poorly at lower frequencies. Check independent test results using ASTM C423. The Noise Reduction Coefficient averages absorption at 250, 500, 1,000, and 2,000 Hz. It is not a percentage. That distinction matters.
Panel thickness changes performance. A 50-millimeter panel with a 50-millimeter air gap can improve low-frequency absorption. Larger gaps usually help, according to principles described in the ISO 354 reverberation testing method. Select 600-by-1,200-millimeter panels for broad wall coverage. Use smaller pieces around desks, microphones, or meeting areas. Modular layouts should leave some hard surfaces exposed. Over-treatment can make speech sound dull.
Think about seven practical choices: material, thickness, size, edge finish, mounting method, spacing, and future rearrangement. Place panels at first-reflection points before filling an entire wall. ISO 3382-2 provides methods for measuring reverberation time, while the World Health Organization’s 2018 guidance identifies excessive reverberation and noise as barriers to clear communication. Panels reduce reflections, not outside noise. I learned that distinction the hard way. A simple clap test helps, but it cannot replace measurement. Record before-and-after reverberation with consistent microphone placement. DIY results can be uneven. That is acceptable, if the configuration remains adjustable.
Compare DIY Installation Methods and Essential Tools
Choosing modular DIY acoustic panels is easier when the installation method matches your wall, tools, and future plans. Measure the wall twice, then mark panel centers with a pencil. A level matters more than perfect symmetry. Small errors become obvious across a long row.
Adhesive mounting is quick and clean on smooth, stable walls. It works well for lightweight panels, but removal may damage paint. Use removable fasteners only when their load rating suits the panel. Mechanical clips offer better control and easier repositioning. They usually require a drill, screwdriver, wall anchors, and a stud finder. For heavier panels, attach a slim wood frame to wall studs. This method takes longer, but it distributes weight more reliably. Wear eye protection when drilling.
Plan the acoustic layout before cutting or fastening anything. Place panels near reflection points, such as side walls beside listening positions. Leave practical access to outlets and switches. A tape measure, level, pencil, drill, utility knife, and spare anchors cover most projects. Do not assume every wall is solid. Plaster, drywall, and masonry need different anchors. Acoustic panels reduce reflections; they do not fully block outside noise. A common mistake is filling one wall while ignoring ceiling reflections. I would test one panel first, listen, and adjust the layout. Perfect spacing is not always the best sound. A little visual unevenness may improve coverage.
Evaluate Durability, Flexibility, and Overall Cost
7 Tips for Choosing Modular DIY Acoustic Panels
Evaluate Durability, Flexibility, and Overall Cost
Inspect the panel frame before buying. Solid edges should resist bending during transport and repeated installation. Tap the surface gently. Loose filling or uneven tension can signal weak construction. Choose coverings that tolerate dusting, sunlight, and occasional cleaning. In my experience, delicate fabric often looks attractive but ages poorly. Check the mounting hardware, too. A reliable system should stay secure without damaging the wall.
Measure your room and calculate coverage before comparing prices. Low-cost panels can become expensive when you need more units, extra brackets, or replacement fabric. Include delivery, tools, and future repairs in the total. Modular designs offer useful flexibility. You can move panels between a desk, recording corner, or meeting area. Confirm that panels can be removed and rearranged without special equipment. That convenience matters.
Compare absorption performance, thickness, and panel density, not appearance alone. Ask for test information when available, and avoid trusting vague claims. Thicker panels usually handle lower frequencies better, although placement still matters. Leave space between panels and walls when practical. It can improve absorption. I once focused too heavily on color and underestimated installation time. That mistake made the project less affordable. Review the warranty, replacement options, and cleaning instructions before committing. A slightly higher initial cost may provide better durability and fewer compromises later.

